Home Charger Installation starts with a practical question: where does the car sit overnight, and what electrical capacity is available nearby? A charger beside the garage door may look convenient, but a long cable crossing a walkway can quickly become a daily nuisance. The right setup depends on parking habits, vehicle charging limits, panel capacity, and the route from the electrical panel to the charging point.
The U.S. Department of Energy’s Alternative Fuels Data Center describes Level 2 charging as a 240-volt option that typically adds about 10–20 miles of driving range per hour, depending on the vehicle and equipment. That can make overnight charging workable for many households. The International Energy Agency’s Global EV Outlook 2024 reports that public charging points worldwide reached about four million in 2023. Yet a public network does not replace the convenience of charging where a vehicle is parked. Small details matter.
NREL researcher Eric Wood’s published analysis of residential EV charging underscores a useful principle: charging access should match household parking and charging patterns. That is a paraphrase, not a direct quotation. A careful installation plan checks the electrical panel, charger location, cable reach, outdoor exposure, and utility requirements before equipment is chosen. A qualified electrician can assess the site and confirm what work is appropriate. Even then, plans can miss something: a parked bicycle, a narrow side path, or a garage door that blocks the cable. This guide explains how to assess those details and plan a reliable Home Charger Installation without assuming every home needs the same solution.
How to Install a Home EV Charger?
Before choosing a charger, inspect your electrical panel and estimate your daily driving. Note the panel’s service rating, available breaker spaces, and major loads such as an oven, dryer, or heat pump. A spare slot does not necessarily mean spare capacity. A qualified electrician can assess the total load and whether upgrades or load management are needed. Also consider the route from panel to parking space; a long cable run can affect installation cost.
The U.S. Department of Energy’s Alternative Fuels Data Center reports that Level 2 charging typically adds about 10–20 miles of range per hour. Compare that range with your usual overnight parking time and mileage, rather than automatically choosing the highest-power unit. For example, a car parked for eight hours may gain enough range for many daily commutes. Actual results vary by vehicle and conditions.
Before choosing a home charger, check your vehicle’s charging limits and the electrical capacity of your home. A higher-rated unit will not necessarily charge the car faster if the vehicle cannot accept that power. Ask a licensed electrician to assess the panel, wiring route, and any needed circuit upgrades. Also decide whether a plug-in or hardwired setup better suits the available circuit and your parking routine. Small details matter.
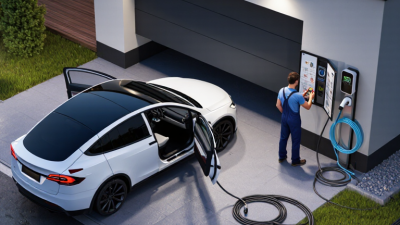
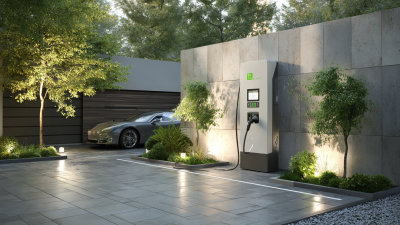
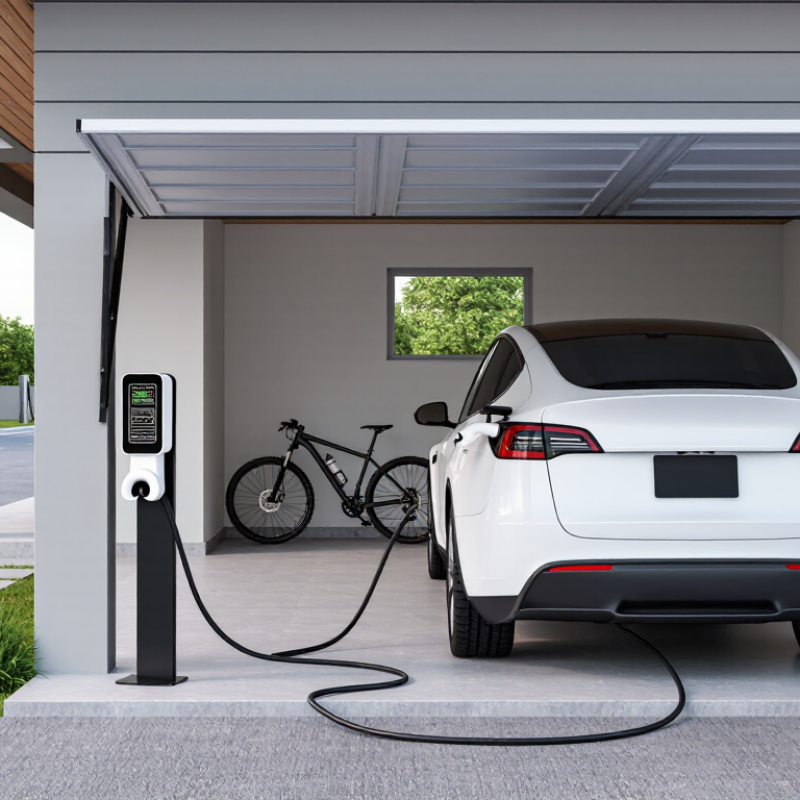
Choose a location where the cable reaches the car’s charge port without stretching or crossing a walkway. Measure from the proposed mounting point to the parked vehicle, leaving enough slack for everyday use. A garage wall near the parking space often works well, but keep the unit clear of shelves, doors, and spots where a bumper could hit it. For outdoor installation, select equipment rated for the exposure and avoid locations prone to standing water. Check whether the wall is sturdy and whether sunlight or rain will make the controls awkward to use. A tidy-looking spot can still be frustrating if you reverse into it each night. Plans change; leave room for that.
Before installing a home EV charger, check with your local building department about permits and inspection requirements. Rules can vary by location and by the charger’s electrical demand. Your utility may also need to review the planned installation, especially if the home’s service capacity is limited. Ask what documents are required, such as a site plan or equipment specifications. Do this before scheduling electrical work.
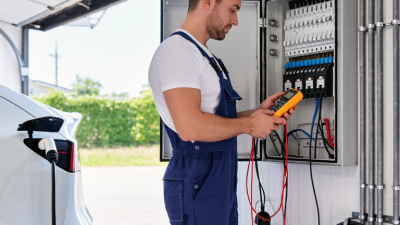
Hire a licensed electrician who has experience with residential EV charging installations. They can inspect the electrical panel, estimate available capacity, and identify whether an upgrade or dedicated circuit is needed. A crowded panel or an older service can change the project’s cost and schedule. Get this in writing. Ask for an itemized estimate that covers permits, materials, labor, and inspection coordination.
Share the charger’s installation instructions and your preferred parking location with the electrician. A long cable route, finished walls, or a detached garage may affect the work. Confirm who will submit the permit application and arrange the inspection. Keep copies of the permit, inspection results, and final invoice. Small details matter. I’ve seen planning focus on charger placement while overlooking panel capacity; that is an easy assumption to revisit before work begins.
EV charging is treated as a continuous load: the circuit is typically sized for at least 125% of the charger’s rated current. These examples show the resulting common circuit ratings. A licensed electrician should verify the home’s electrical capacity and applicable local permit and code requirements before installation.
Choose a mounting spot close to where the car’s charging port usually sits. Leave enough cable slack to reach without stretching, dragging, or crossing a walkway. Check the wall surface, outdoor exposure, and the charger’s stated clearance requirements. A small cardboard outline can help you judge the height before drilling.
Have a qualified electrician check the home’s electrical capacity and install the correctly rated circuit, protective devices, and wiring. Requirements vary by charger and location, so the installation should follow the manufacturer’s instructions and applicable local codes. Panel work is not a safe place to improvise. Keep the power isolated while the equipment is being installed. A tidy cable route matters, though it may take a less attractive path to avoid a doorway or water source.
Once mounted, connect the charger to its required network or control system, if applicable, and follow its setup instructions. The electrician should verify the circuit and protective functions before you plug in the vehicle. Then start a brief charging session and check for error indicators, unusual heat, or a loose connector. Wi-Fi can be unreliable in garages; test the signal there rather than assuming it will reach. A slightly inconvenient setup is better than a cable stretched across the floor.
After installation, test the charger during a supervised session. Confirm the connector locks securely, the vehicle displays “charging,” and the breaker stays on. Check the cable along its full length for cuts, crushed spots, or unusually hot sections. Watch the first few minutes closely. A quiet, steady session is reassuring, but it does not replace regular inspection.
The U.S. Department of Energy’s Alternative Fuels Data Center reports that Level 2 charging typically adds about 10–20 miles of range per hour. The Federal Highway Administration’s 2022 National Household Travel Survey puts average daily driving near 30 miles per driver. These figures help set expectations, but your vehicle, charger, and daily routes may differ.
Follow the charger and vehicle manuals; stop charging if you notice a burning smell, crackling, repeated breaker trips, or a damaged plug. Do not keep using equipment that seems faulty.
Tips: Keep the connector off the ground and the cable clear of walkways. Use a dry hand to plug in, and avoid extension cords unless the manufacturer explicitly approves them. Check the charger’s status indicator after each connection. Small habits are easy to skip, so set a reminder to inspect the cable monthly.