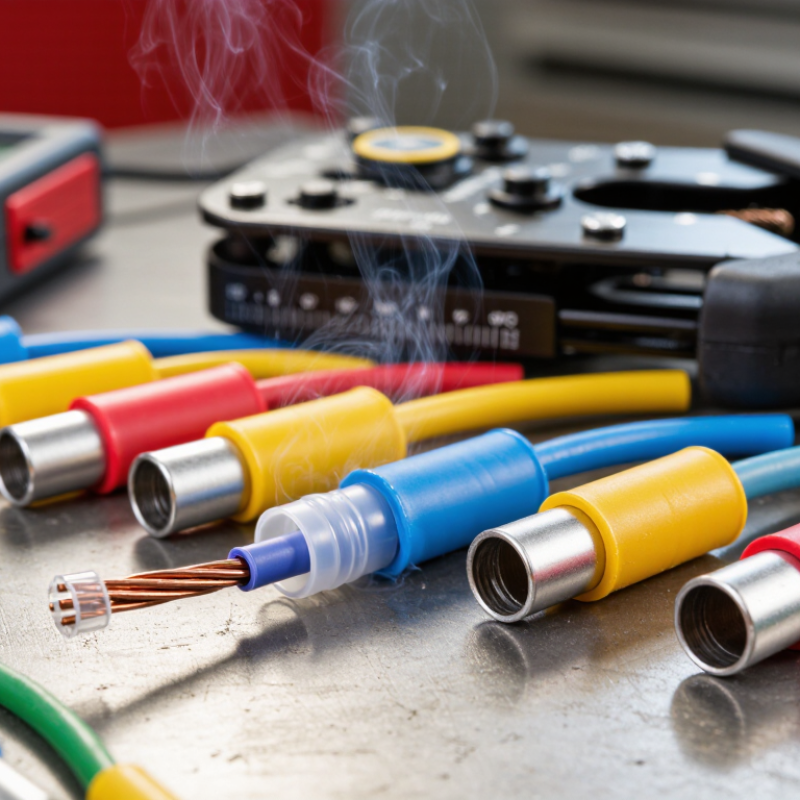
2026 Top Heat Shrink Wire Terminals Buying Guide

Reliable connections rarely draw attention. Failures do.

Heat Shrink Wire Terminals combine a crimped electrical connection with a heat-activated sleeve. When installed correctly, the sleeve contracts around the joint, helping protect it from moisture, abrasion, and vibration. The details matter: a terminal that is too large can loosen under pull, while uneven heating can leave gaps or damage insulation.

The International Energy Agency’s Electricity 2024 report forecasts global electricity demand growth of about 3.4% annually through 2026. That is a broad energy-sector measure, not a forecast for terminal sales. Still, it reflects the expanding electrical systems where dependable connections matter. IEA Executive Director Fatih Birol described the shift this way: “The world is entering the Age of Electricity.” This guide uses that context carefully; demand growth alone cannot tell buyers which terminal fits a specific job.

A sound purchase starts with the conductor’s gauge, insulation diameter, terminal material, and operating environment. Check the product’s temperature range and sealing claims, then confirm compatibility with the specified crimping tool. Look for traceable specifications and clear installation instructions. A bright sleeve is not proof of a sound crimp.

Small details count. During selection, compare sample fit and inspect finished crimps before ordering in volume. This guide will help buyers assess product claims, application fit, and supplier documentation for 2026. Some listings still omit useful test details. Treat that as a reason to ask questions, not as evidence of quality.

2026 Top Heat Shrink Wire Terminals Buying Guide

What Heat Shrink Wire Terminals Are and How They Work

Heat shrink wire terminals combine a metal crimp barrel with a heat-activated insulating sleeve. The barrel forms the electrical and mechanical connection. The sleeve contracts around the wire insulation when heated, helping shield the joint from moisture, dirt, and abrasion. The seal is not magic; poor preparation can still leave a path for water.

A typical installation starts with stripping the wire to the terminal’s specified length. Insert the conductor fully, then crimp with a die matched to the terminal and wire size. After crimping, apply controlled heat until the sleeve shrinks and its adhesive, if present, flows around the insulation. Avoid scorching the sleeve. A glossy, uneven surface can signal overheating or poor positioning.

Standards help define workmanship, but they do not replace product instructions. IPC/WHMA-A-620E (2022) provides acceptance criteria for crimped wire and cable assemblies, including visual workmanship checks. Terminal datasheets should provide the actual wire range, strip length, crimp tooling, and temperature limits. Check those figures before installation. A 3:1 shrink ratio, for example, is a product specification, not a universal feature. In a damp vehicle harness, a careful pull check and close inspection of the seal are sensible; I would not rely on appearance alone.

Common Terminal Types, Materials, and Sizes

Heat-shrink wire terminals come in several shapes, each suited to a different connection. Butt connectors join two wires end to end, while ring terminals fasten beneath a screw or stud. Spade terminals offer a removable connection; quick-disconnect tabs pair with matching receptacles. For branching a circuit, parallel connectors can join wires without stacking several conductors in one terminal. A snug fit matters.

Terminal barrels are commonly made from copper, which conducts well, or tinned copper, which adds a protective surface against oxidation. Insulation is often polyolefin, with an inner adhesive layer that softens during heating and helps seal the wire entry. Not every terminal seals equally well, though. Check the product details for its intended environment rather than assuming “heat-shrink” means waterproof.

Choose a size that matches both the wire gauge and the connection hardware. A terminal may fit the wire but not the stud. Color coding can help identify wire ranges, yet conventions vary, so read the printed sizing information. Strip only enough insulation to seat the conductor fully inside the barrel. Then use a compatible crimping tool and apply controlled heat until the sleeve contracts evenly. Don’t rush this step. A neat sleeve cannot rescue a weak crimp, and the connection can look secure when it isn’t.

How to Match Terminals to Wires and Applications

2026 Top Heat Shrink Wire Terminals Buying Guide

How to Match Terminals to Wires and Applications

Start with the wire’s conductor size, not its outside diameter. Check the terminal’s stated wire-gauge range and confirm it suits the conductor material and strand type. A loose fit can pull free; an oversized terminal may crimp unevenly. Match the terminal style to the connection point, too: ring terminals suit studs, while spade terminals allow quicker removal. Then consider the working environment. Moisture, vibration, and heat can affect the choice, so compare the terminal’s temperature and insulation ratings with the equipment requirements. Specs vary by product.

Tips: Strip only the length specified by the terminal maker. Insert the conductor fully, then crimp with a tool suited to that terminal type. Heat the sleeve evenly with a heat gun, keeping it moving until the tubing shrinks and any adhesive flows at the edges. Don’t use an open flame. Let the joint cool before gently checking that the wire is secure.

A neat-looking sleeve is not proof of a sound connection. Inspect for exposed strands, damaged insulation, or a crooked crimp. If the wire gauge is unclear, measure it or check its cable markings before buying. I’ve seen rushed selections create rework; taking one extra measurement is usually worth it. For critical equipment, follow its service documentation and have a qualified technician verify the connection.

How to Compare Quality, Certifications, and Suppliers in 2026

In 2026, compare heat-shrink wire terminals by evidence, not glossy packaging. Match the terminal’s wire-gauge range, conductor material, temperature rating, and crimp-tool requirements to the actual installation. Check the barrel and insulation under magnification; uneven plating, loose seams, or adhesive that fails to flow deserve questions. NFPA’s Home Electrical Fires report estimated an average of 46,700 U.S. home structure fires per year involving electrical failures or malfunctions from 2015 to 2019. That figure does not isolate terminal failures, but it underscores why dependable connections matter. Small details matter.

Review certification documents for the exact terminal type, not just a supplier’s general claim. For quick-connect designs, check whether UL 310 applies; confirm the listing scope, wire sizes, and test conditions. Ask for batch traceability and test reports covering crimp retention, insulation performance, and sealing after heat exposure. A tidy certificate is not enough. Compare supplier responses, lead times, and change-control practices, then test samples with your own wire and tooling. I would not assume a sample proves every production batch. Supplier audits and repeat testing take time, but skipping them can leave a hidden weakness inside an otherwise convincing sleeve.

2026 Top Heat Shrink Wire Terminals Buying Guide - How to Compare Quality, Certifications, and Suppliers in 2026
Evaluation Area What to Compare Quality Indicators and Relevant Facts How to Verify
Terminal and Application Fit
Terminal style Ring, fork/spade, butt splice, or quick-disconnect terminal Select the style to match the connection design, mating hardware, service access, and required wire-to-wire or wire-to-device connection. Check the drawing, stud or tab dimensions, mating-terminal details, and intended application before ordering.
Wire-size range Supported conductor size and strand type The terminal barrel must match the specified wire size and conductor construction. AWG and mm² are separate sizing systems; confirm the manufacturer’s stated range rather than relying on approximate conversions. Compare the datasheet’s wire range with the actual cable specification and approved crimp tooling.
Barrel material and plating Base metal, plating, and corrosion requirements Copper barrels are commonly used for electrical crimp terminals; tin plating is often specified to help limit surface oxidation. Material and plating requirements depend on the environment and application. Request material specifications and plating details. For corrosive or marine environments, verify suitability using application-specific testing or approval requirements.
Heat-shrink insulation Tubing material, shrink ratio, and recovery behavior Cross-linked polyolefin is commonly used for heat-shrink insulation. Shrink ratio and recovered dimensions vary by product; the sleeve must shrink adequately over the wire insulation and terminal barrel. Review the datasheet’s initial and recovered dimensions, shrink conditions, and installation instructions.
Adhesive lining Adhesive presence and sealing performance Adhesive-lined sleeves can help seal the wire-entry area when installed correctly. An adhesive lining alone does not establish a waterproof rating for the terminal or completed assembly. Ask for assembly-level environmental test results if moisture resistance is required. Check whether the test applies to the exact terminal, wire, and installation method.
Temperature rating Operating and installation temperature limits Temperature limits are product-specific and may differ for the metal terminal, insulation, adhesive, and completed connection. Use the rated limits stated for the exact part number. Confirm that the expected operating temperature and installation process are within those limits.
Crimp compatibility Crimp profile, tool, and conductor preparation A correct terminal-to-wire match and the specified crimp process are essential to electrical and mechanical performance. A visually acceptable crimp does not by itself prove performance. Request the approved tooling and crimp instructions. Validate crimp height or other specified dimensions and perform application-appropriate pull and electrical tests.
Certifications, Compliance, and Test Evidence
UL product coverage Applicable standard and exact product listing UL 486A-486B covers wire connectors within its scope; UL 310 covers quick-connect terminals within its scope. Applicability depends on the terminal design and intended use. Check the exact part number, category, conditions of acceptability, and current listing in the relevant certification database. A supplier’s general claim is not proof that every item is covered.
IEC standards Standard relevant to the connection type IEC 61210 specifies requirements for flat quick-connect terminations. It should not be treated as a blanket standard for every type of heat-shrink terminal. Confirm the product type and test scope against the standard and request the applicable test report or certificate for the exact product family.
RoHS and REACH Substance-compliance documentation RoHS (Directive 2011/65/EU, as amended) and REACH (Regulation (EC) No 1907/2006) are regulatory frameworks, not general product-quality certifications. Request current, part-specific declarations and check that the documentation covers the terminal materials, plating, insulation, and adhesive as applicable.
Quality-management system Manufacturing controls and audit scope ISO 9001 certification indicates a quality-management system within the certified scope; it does not, by itself, certify a terminal’s electrical or mechanical performance. Check the certificate’s validity, certified site, scope, and issuing certification body. Evaluate product test evidence separately.
Performance test reports Electrical, mechanical, and environmental tests Relevant evidence may include tensile or pull-out results, electrical resistance or temperature-rise results, and environmental testing appropriate to the intended use. Ask for methods, acceptance criteria, sample details, test dates, and the tested part numbers. Confirm that the results correspond to the wire and tooling used in the application.
Supplier Evaluation
Traceability Lot identification and production records Lot-level traceability helps connect delivered product to manufacturing and inspection records, which supports investigation and corrective action. Request sample labels and certificates of conformance showing part number, lot or date code, and applicable specification revision.
Process and change control Notification of changes to materials, tooling, or manufacturing site Uncontrolled changes can affect fit, crimp performance, sealing, or compliance status. Ask for a documented change-notification process covering materials, dimensions, production location, tooling, and test methods.
Samples and validation Pre-production samples and ongoing inspection Samples allow the buyer to confirm fit and validate the crimp process before release. Inspection frequency and acceptance limits should be defined for the application. Agree on sample quantities, inspection criteria, test responsibilities, and approval records before placing volume orders.
Supply continuity Lead times, capacity, and availability of alternatives Supply risk is best assessed using documented lead times, production capacity, inventory policy, and an approved alternative plan—not a general assurance of availability. Request current lead-time information, minimum order quantities, forecast requirements, and a process for qualifying substitute parts.
Quotation and commercial terms Price basis, packaging, minimum order, and delivery terms Compare quotations on the same part specification, order quantity, packaging, inspection requirements, and delivery basis. Request a written quotation identifying the exact part number and revision, unit pricing, minimum order, lead time, packaging, and applicable terms.

Selection note: Certification coverage, ratings, dimensions, and test requirements vary by product and application. Verify current documentation for the exact part number before approval; do not infer a product rating from a supplier-level certificate or from the presence of heat-shrink tubing.

How to Install, Inspect, and Maintain Heat Shrink Terminals

2026 Top Heat Shrink Wire Terminals Buying Guide
How to Install, Inspect, and Maintain Heat Shrink Terminals

A dependable connection starts with matching the terminal to the wire gauge and stud size. Strip only the specified length; nicked copper can weaken the joint. Insert the conductor fully, then crimp with a tool suited to the terminal’s barrel. A loose crimp may look fine. Apply controlled heat evenly, rotating the wire so the tubing shrinks without scorching or exposing the insulation. Let the joint cool before moving it.

Inspect the finished connection for complete coverage, visible adhesive at the ends, and no exposed strands. Check that the barrel is firmly crimped and the wire cannot pull free with a gentle tug. NFPA’s Home Electrical Fires report, using 2015–2019 data, estimated 46,700 U.S. home structure fires annually involved electrical failure or malfunction. This figure does not isolate terminal faults, but it underscores why careful workmanship matters. Recheck connections after vibration, moisture exposure, or service work; replace terminals showing cracks, corrosion, or loosened insulation.

Tips: Use a heat gun, not an open flame. Keep heat moving. If the tubing shrinks unevenly, pause and inspect the joint before installation. I still find visual checks easy to rush. Don’t.

2026 Top Heat Shrink Wire Terminals Buying Guide

How to Install, Inspect, and Maintain Heat Shrink Terminals

Choose a heat shrink terminal that matches the wire’s AWG size and the terminal’s stated conductor range. The chart shows nominal copper conductor cross-sectional areas for common AWG sizes; it does not indicate terminal compatibility by itself. After crimping, inspect the connection and apply heat evenly until the tubing has recovered and its sealant has flowed as specified by the terminal manufacturer.